Amongst the plethora of ideas at
CMK 2014, one that stuck with me was the idea of wearable speakers, as I’ve been wanting for some time now to delve deeper into soft circuits and e-textiles. Specifically, I wanted to challenge myself to build actual speakers using simple materials instead of just embedding pre-made speakers into a wearable device. Although I didn’t have anyone to work with on this specific project, I ended up getting situated at a table of other folks working on individual projects, which gave me the best of both worlds: people to chat with/bounce ideas off of, yet total creative freedom in how I want to approach the project. (Which incidentally, is giving me ideas about the benefits of allowing students to opt to work by themselves on some projects.)
The first thing I did was to consult the interwebs to see if others had done similar projects and as is usually the case, someone also had this idea. I first found this Instructables which gave me a great overview and also led me to this page with even more ideas and examples. Although I’ve taught electromagnetism in my engineering classes before, it still never fails to delight me when I get to build something using magnets and wire that will actually work!
With some research under my belt, I was ready to start prototyping. Although I didn’t have access to the exact types of conductive threads my references used, there were conductive yarn and the other types of conductive threads at the conference, so I decided to play with those. A quick measurement with the multimeter told me that the yarn had much higher resistance, so I opted to work with the conductive thread instead.
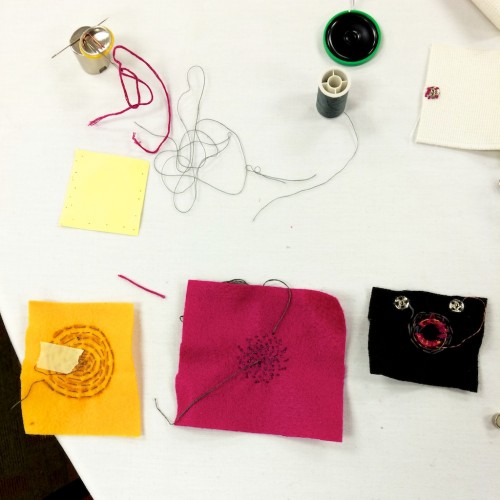
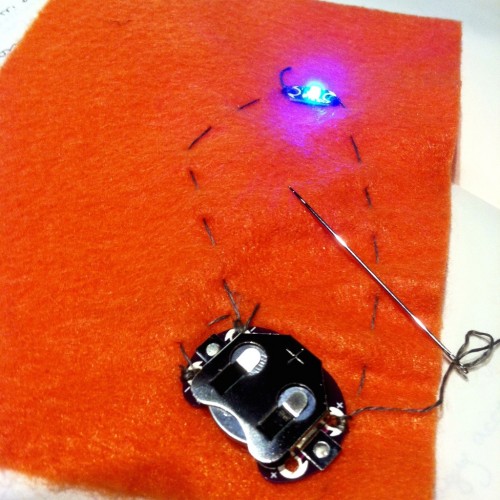
My first prototype is the orange one of the left, where I sewed conductive thread into a spiral onto a small piece of felt. When I place it over a super strong magnet (courtesy of Jaymes) and put my ear really close to it, I can just make out the sound. But given how large the magnet had to be (you can see it at the top of the photo and how literally anything sort of magnetic just get stuck to it Katamari-style), it didn’t exactly seem reasonable for wearable applications.
For my second iteration (magenta one in the middle), I used the same general idea but patiently tried to sew a tighter spiral to see if that would increase the output enough to be audible with just a small disc magnet or two – no luck. Upon further research, I realized that the example fabric speakers I saw all went through a simple amplifier circuit, for which I don’t have the parts. That meant conductive thread might be a dead end until I get home when I can order the chip I need to build an amplifier circuit.
So for my third iteration (black version on the right), I decided to forego the conductive thread altogether and just use normal magnet wire because it has an insulating coating which allows you to coil the wire over itself many many times over, thus creating a much stronger magnetic field. (Sadly, you can’t do that to conductive thread because the whole surface of the thread is conductive.) At this point, I had also gotten tired of my testing protocol of twisting very fine wires together, so I decided to sew snaps onto my speaker (you can see them on the photo above) and solder the other sides to my deconstructed earphones to make a better testing platform. I had to take a pair of cheapo airplane headphones apart in order to get a jack to connect to my computer/iPhone.
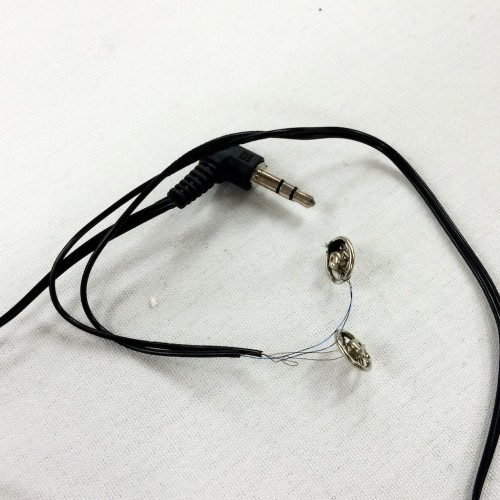
This iteration actually worked ok when paired with two little disc magnets that I duct-taped onto a stretchy piece of fabric, especially when you add a stiff piece of paper onto the whole thing as a membrane that will push the air more effectively. It’s nothing that will rock your socks off but if you hold the whole thing up to your ear or if you are in a quiet room (which is hard to find at CMK), you can actually hear the music! 🙂 And actually, if you hook this up to an amplifier (which again, Jaymes had), it will be quite booming…at least until the wire gets so hot that it melts the felt and the whole thing starts smoking! Exciting!

In the photo above, you can see that I added a small resistor to the coil just to make sure the speaker will have about 10Ω of resistance – supposedly, if speakers have lower resistance than 8Ω (which is what normal pre-made speakers are), it can mess up your audio source. I don’t know if this is absolutely true but I certainly wasn’t about to risk my computer or phone to test this out!
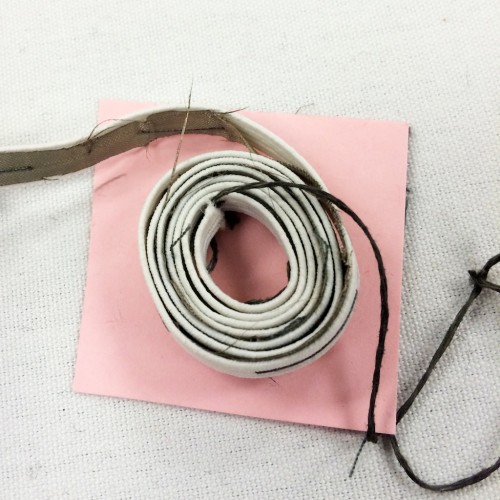
One idea that came to me while I was working on this last version was if there’s a way to coil up conductive materials like the wire to create a bigger magnetic field, so I tried to make a version where I sandwiched a long strip of conductive fabric in between non-conductive fabric and rolled the whole thing up. Cool idea, right? TOTAL FAIL! Ah well, it was worth a try!